 Apply Now
-
Students
-
Faculty
-
- Articles coming soon
Bluepulse User Manual
Introduction
Bluepulse is a social feedback platform and a space where students can share their opinions, comments, and concerns privately.
Through the platform, faculty members will be able to ask questions related to the Course Learning Outcomes (CLO) for the students to answer. They will also be able to measure the student’s learning experience and understanding of the course.
The QA&IE team will be responsible for adding the courses and enrolling the students and faculty members to the courses before each semester to ensure easy access.
Moreover, the QA&IE team will ensure that the faculty are well trained on using Bluepulse by providing workshops so that they can guide their students on how to use the platform.
This document will show the faculty and students how to use their Bluepulse accounts.
Faculty Account
Manage Your Profile
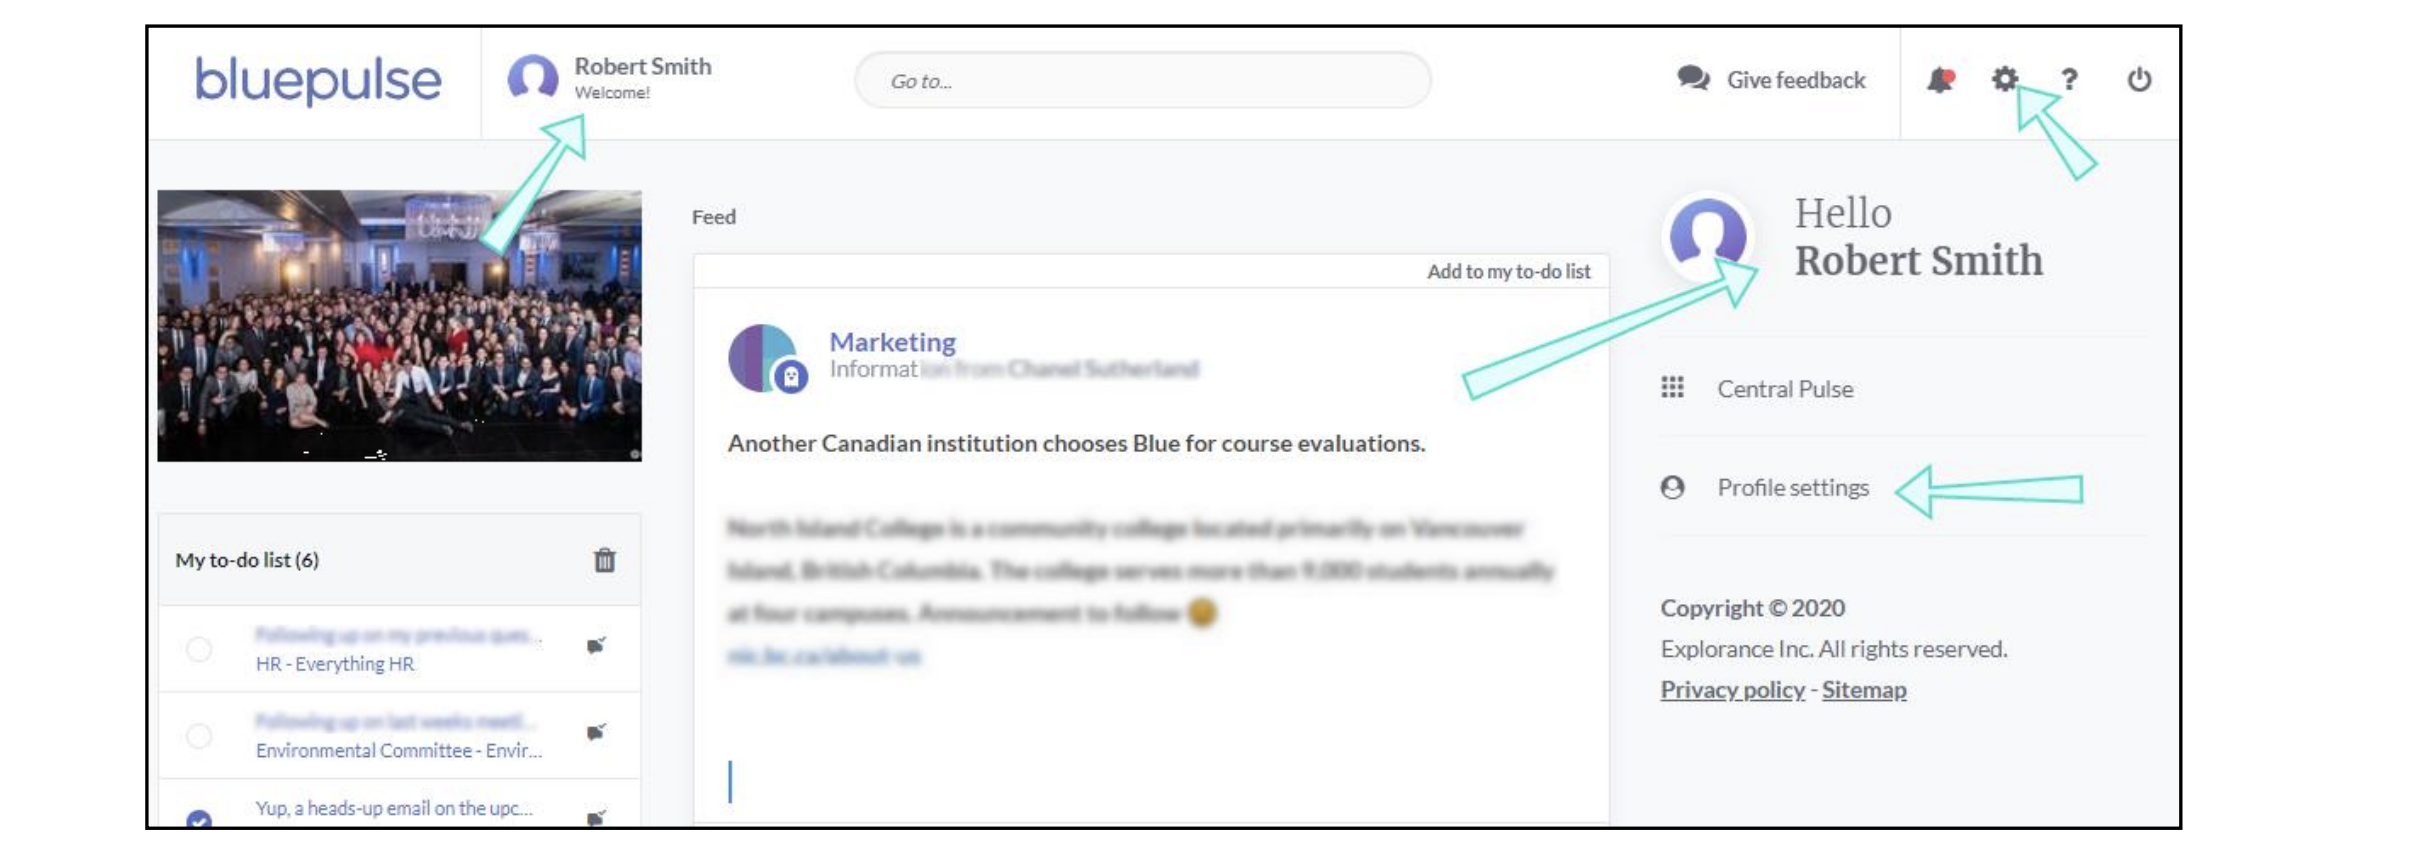
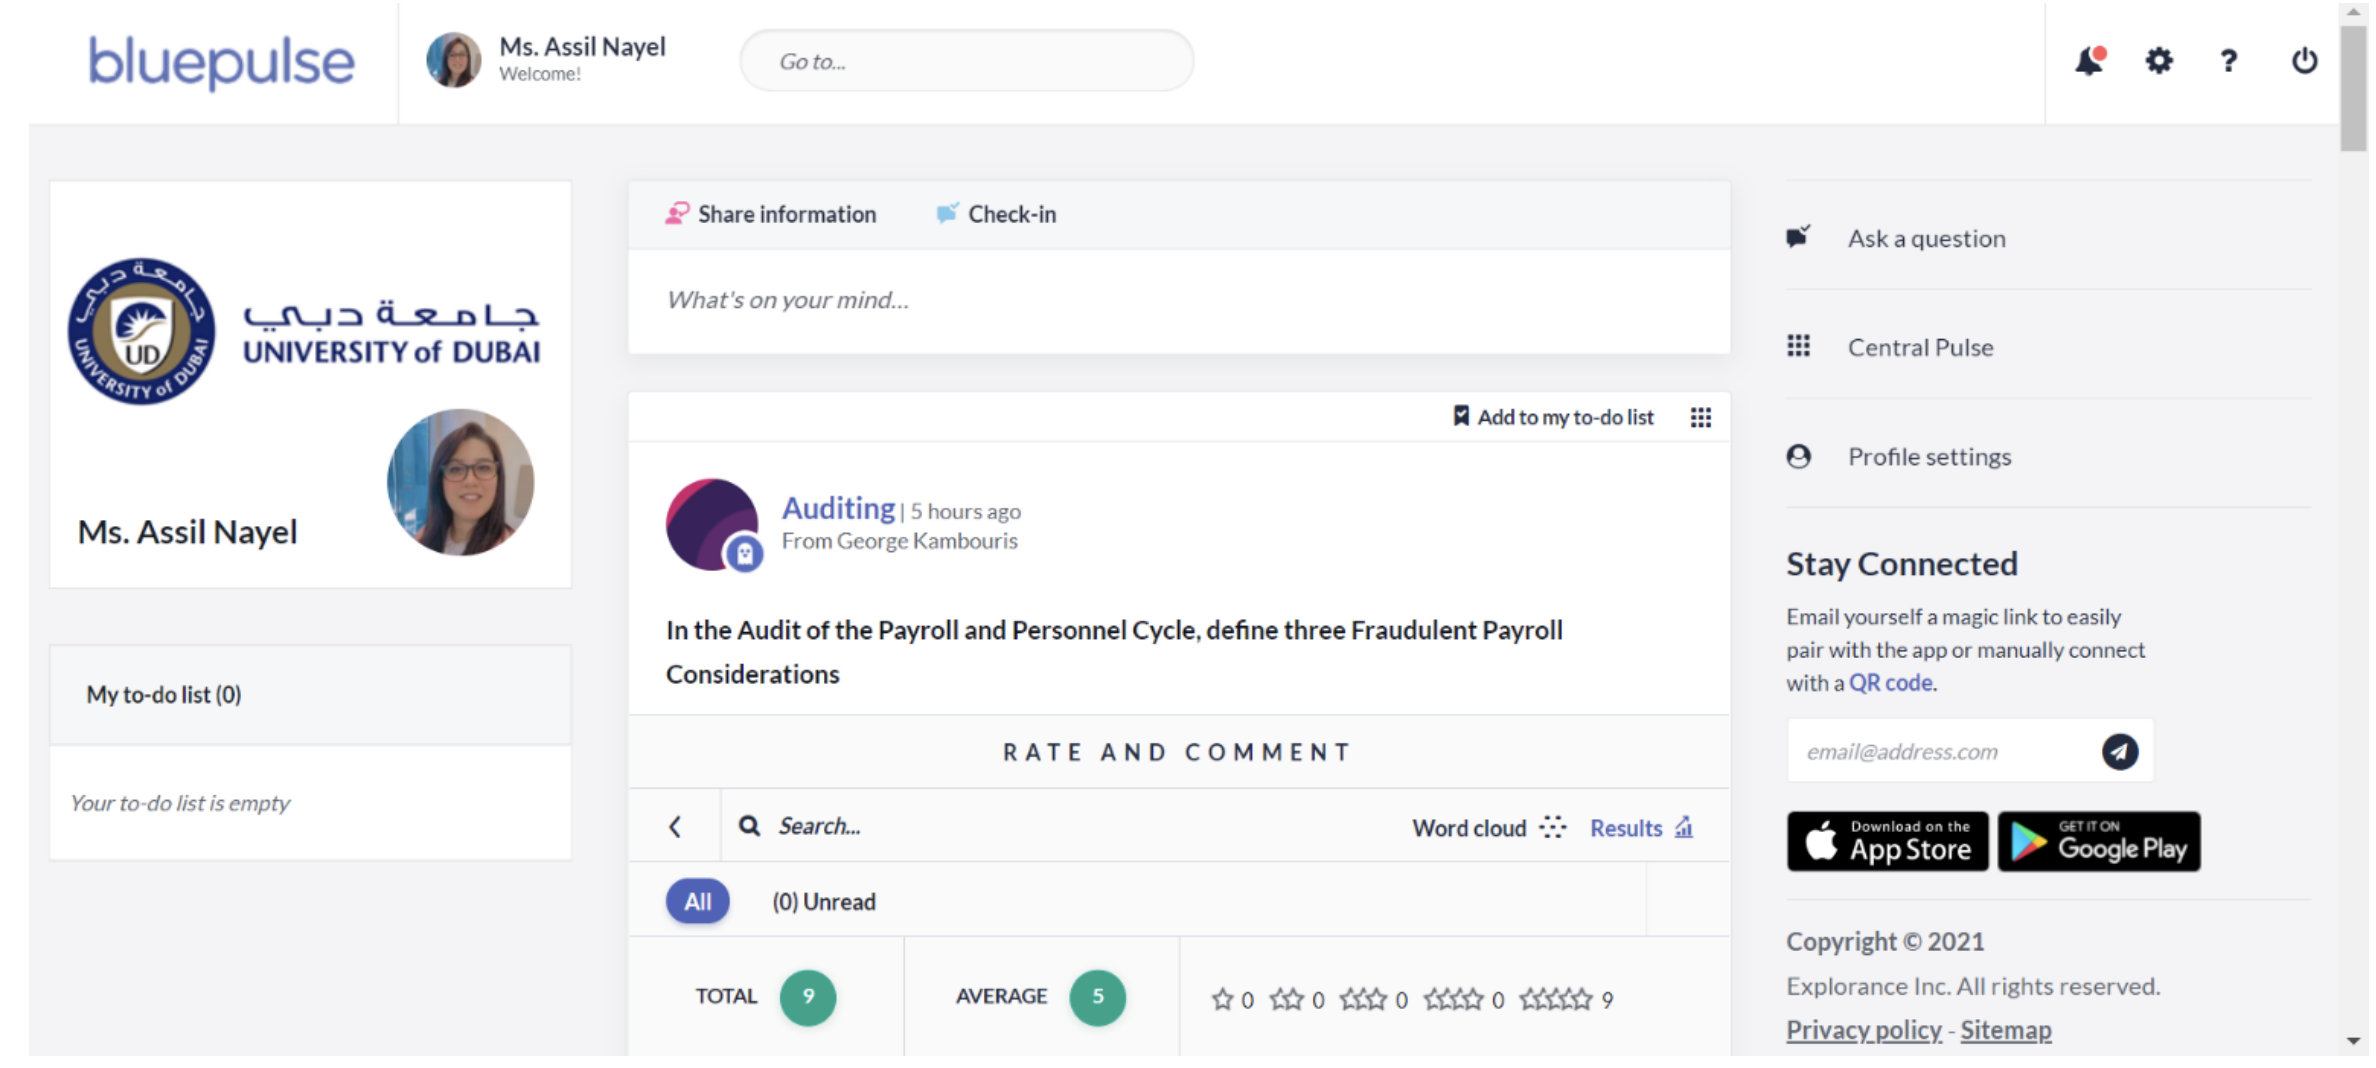
This is the first page you see when you sign into Bluepulse. From here, you can access the entire Bluepulse application. Explore each area of the Home page below. The Profile settings contain options and additional information related to your profile and your user experience on both desktop and mobile applications. You can open Profile settings by clicking on your profile name, using the shortcut on the Home page, or selecting the settings button in the page header.

Set your profile picture on Bluepulse.
Your profile will be visible in the Feed when you ask questions, share thoughts or initiate follow-ups. To set your display picture:
1- Select the profile picture in the My Profile section
2- Select your preferred image by loading it from the upload window
3- Edit the image as desired
4- Save and done!
Ask a Question
All faculty members can ask questions to their students pre, during, or post class timings. Questions should relate to the CLO to measure the students’ learning experiences.
It is preferred to mention the CLO number before each question.
The following steps will guide you on how to ask a question:
1- Click on “Ask a question” on your Home page on the right
2- A page will appear for you to post the question
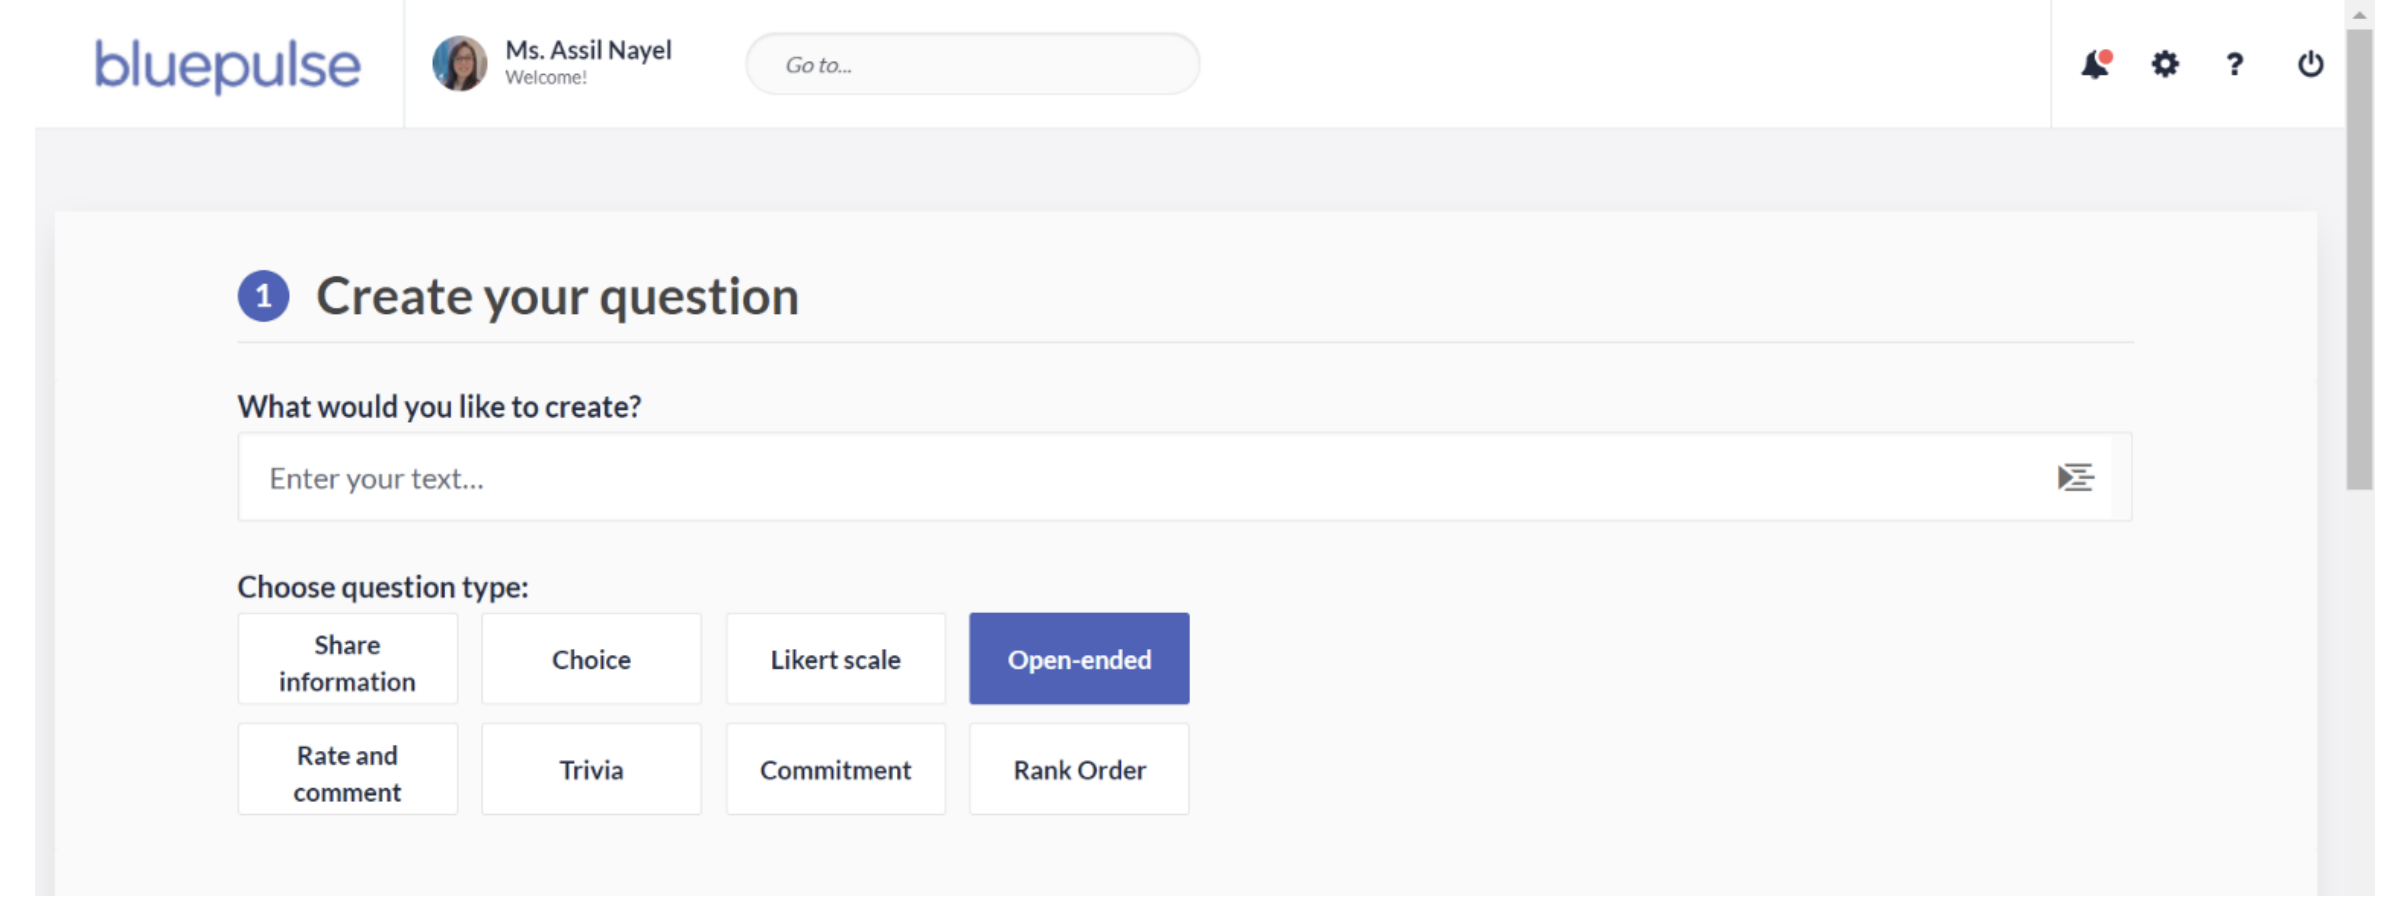
3- Enter your question
4- Select the preferred question type (It is recommended to use multiple-choice questions)
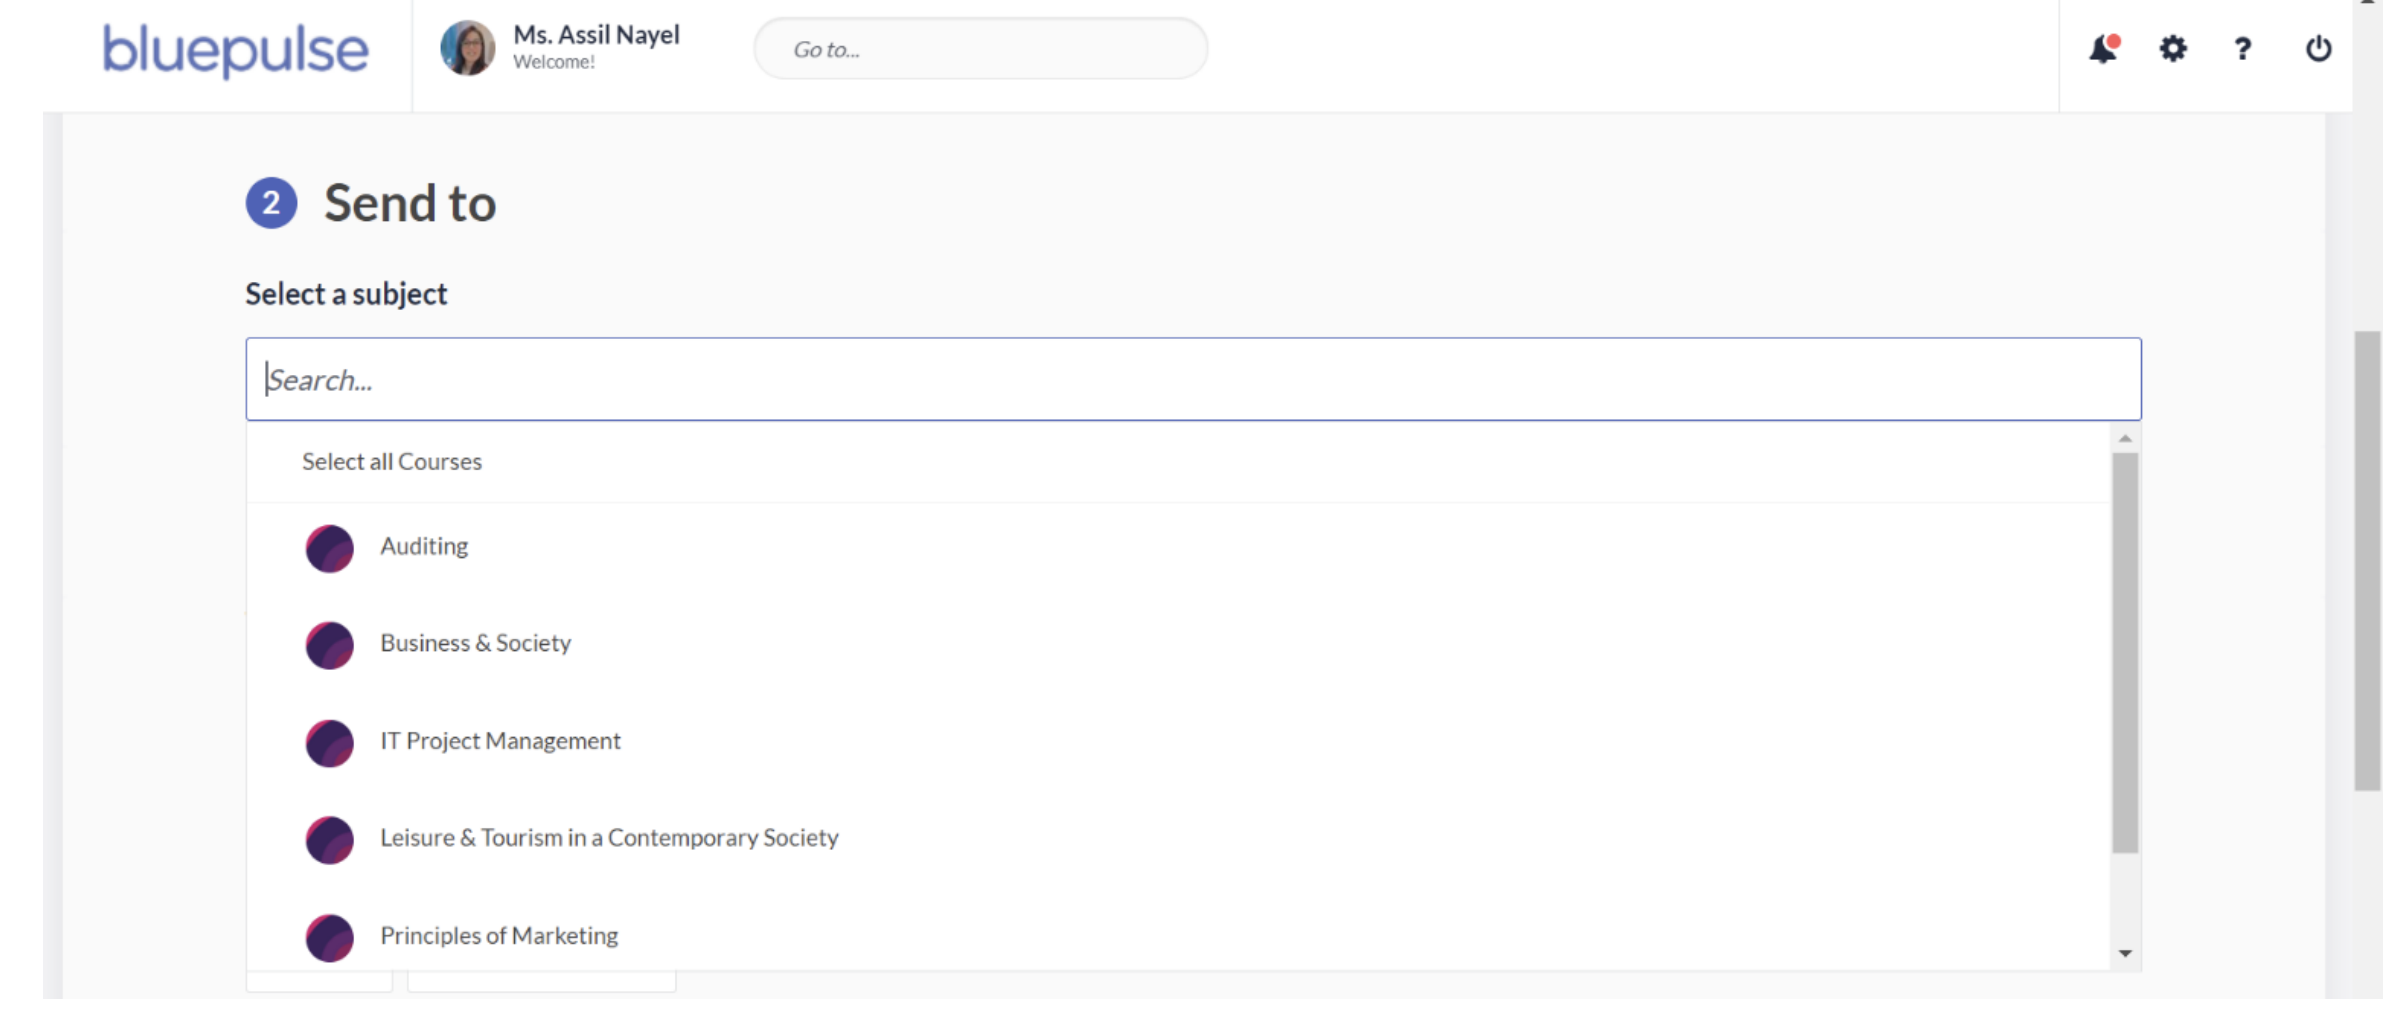
5- Select the subject “Course” from the drop down menu that appears
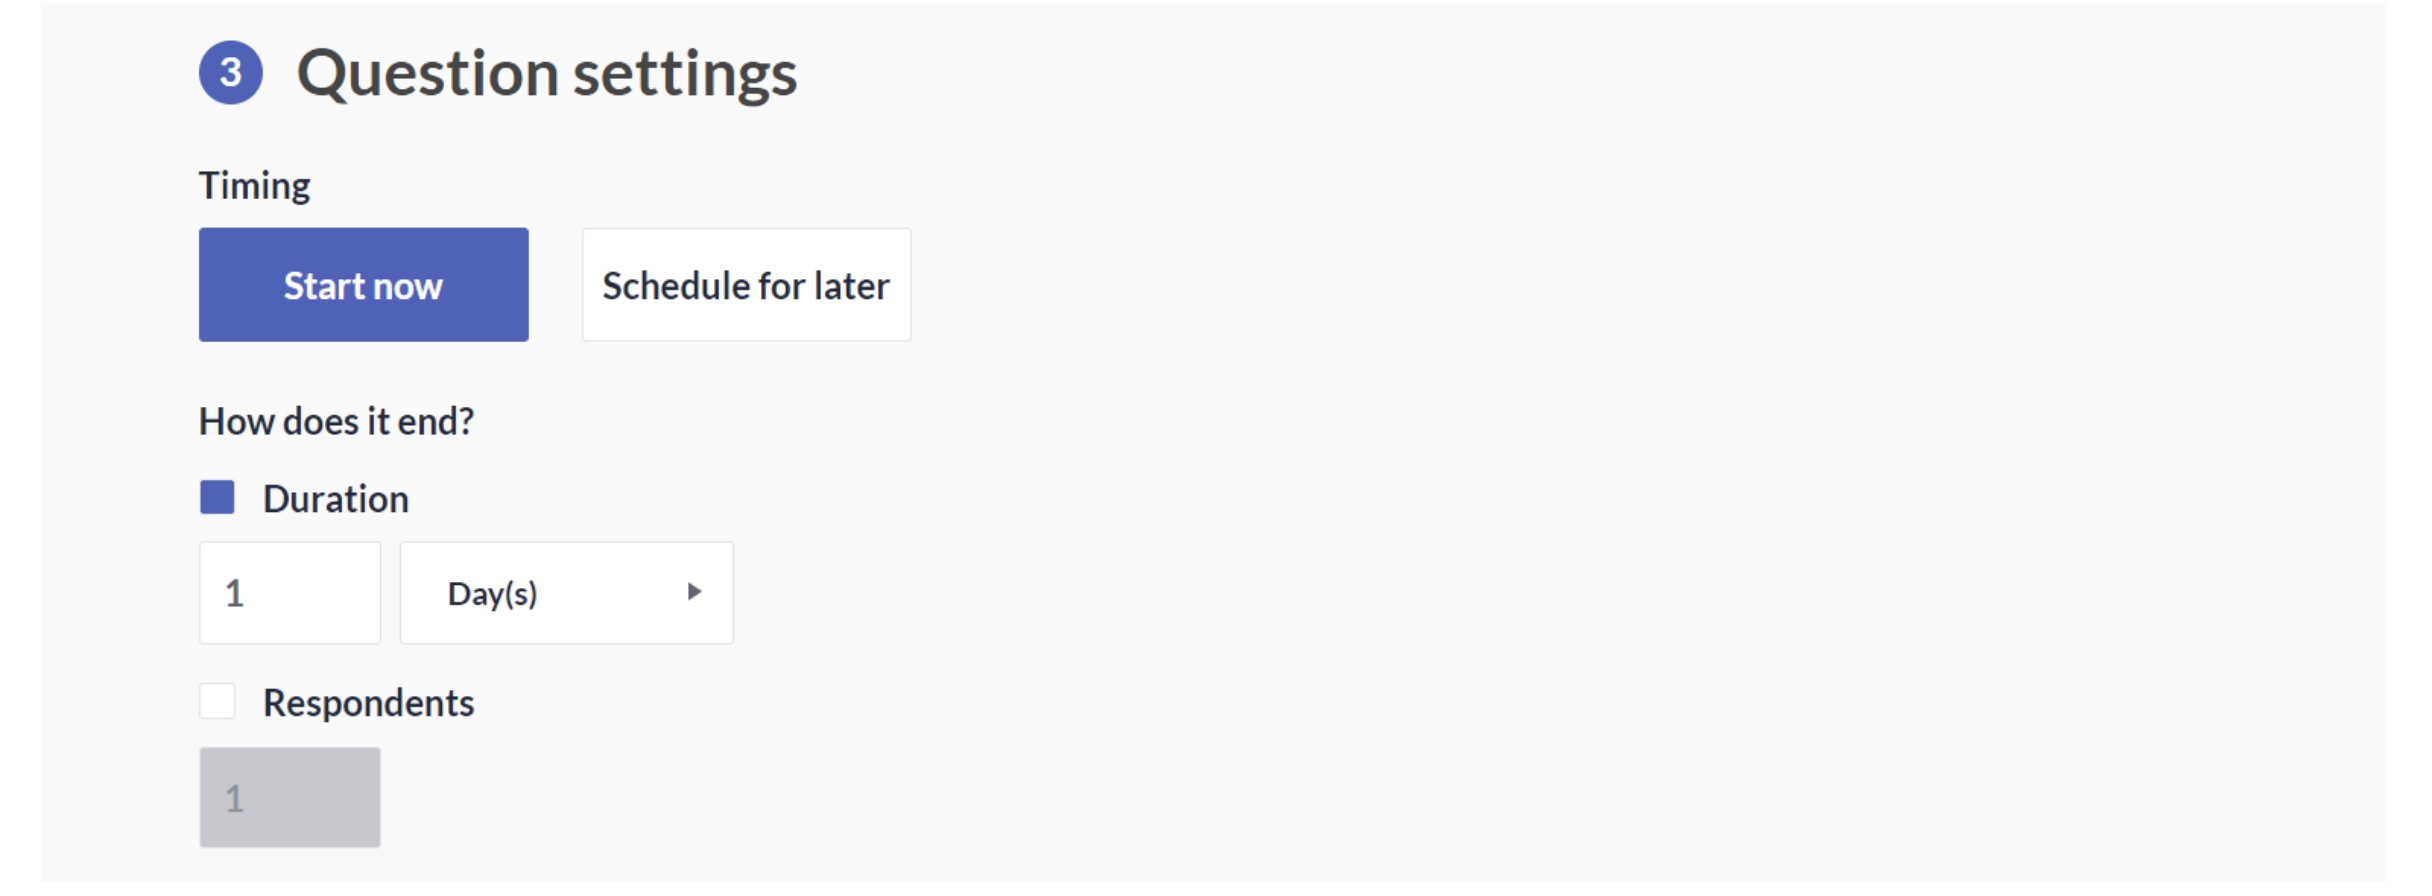
6- After selecting the course, scroll down to view question settings
7- You can adjust the timing of the question to start right away or schedule to publish the question on a specific time
8- Modify the duration of the question. You can make the question available for the students to answer for more than 3 days
9- After setting the question settings, you can control the question type

10- You can also make the students’ responses confidential by switching the button to yes. However, by enabling this option the students’ names will not show when you extract the response report.
11- After typing your question and setting all the options, you can publish the question.
12- Click on preview and send
13- You will be able to review your question before publishing

14- Press on “Publish” or “Cancel” if you wish to modify your input
15- After that, the question will be appear on the students’ news feed
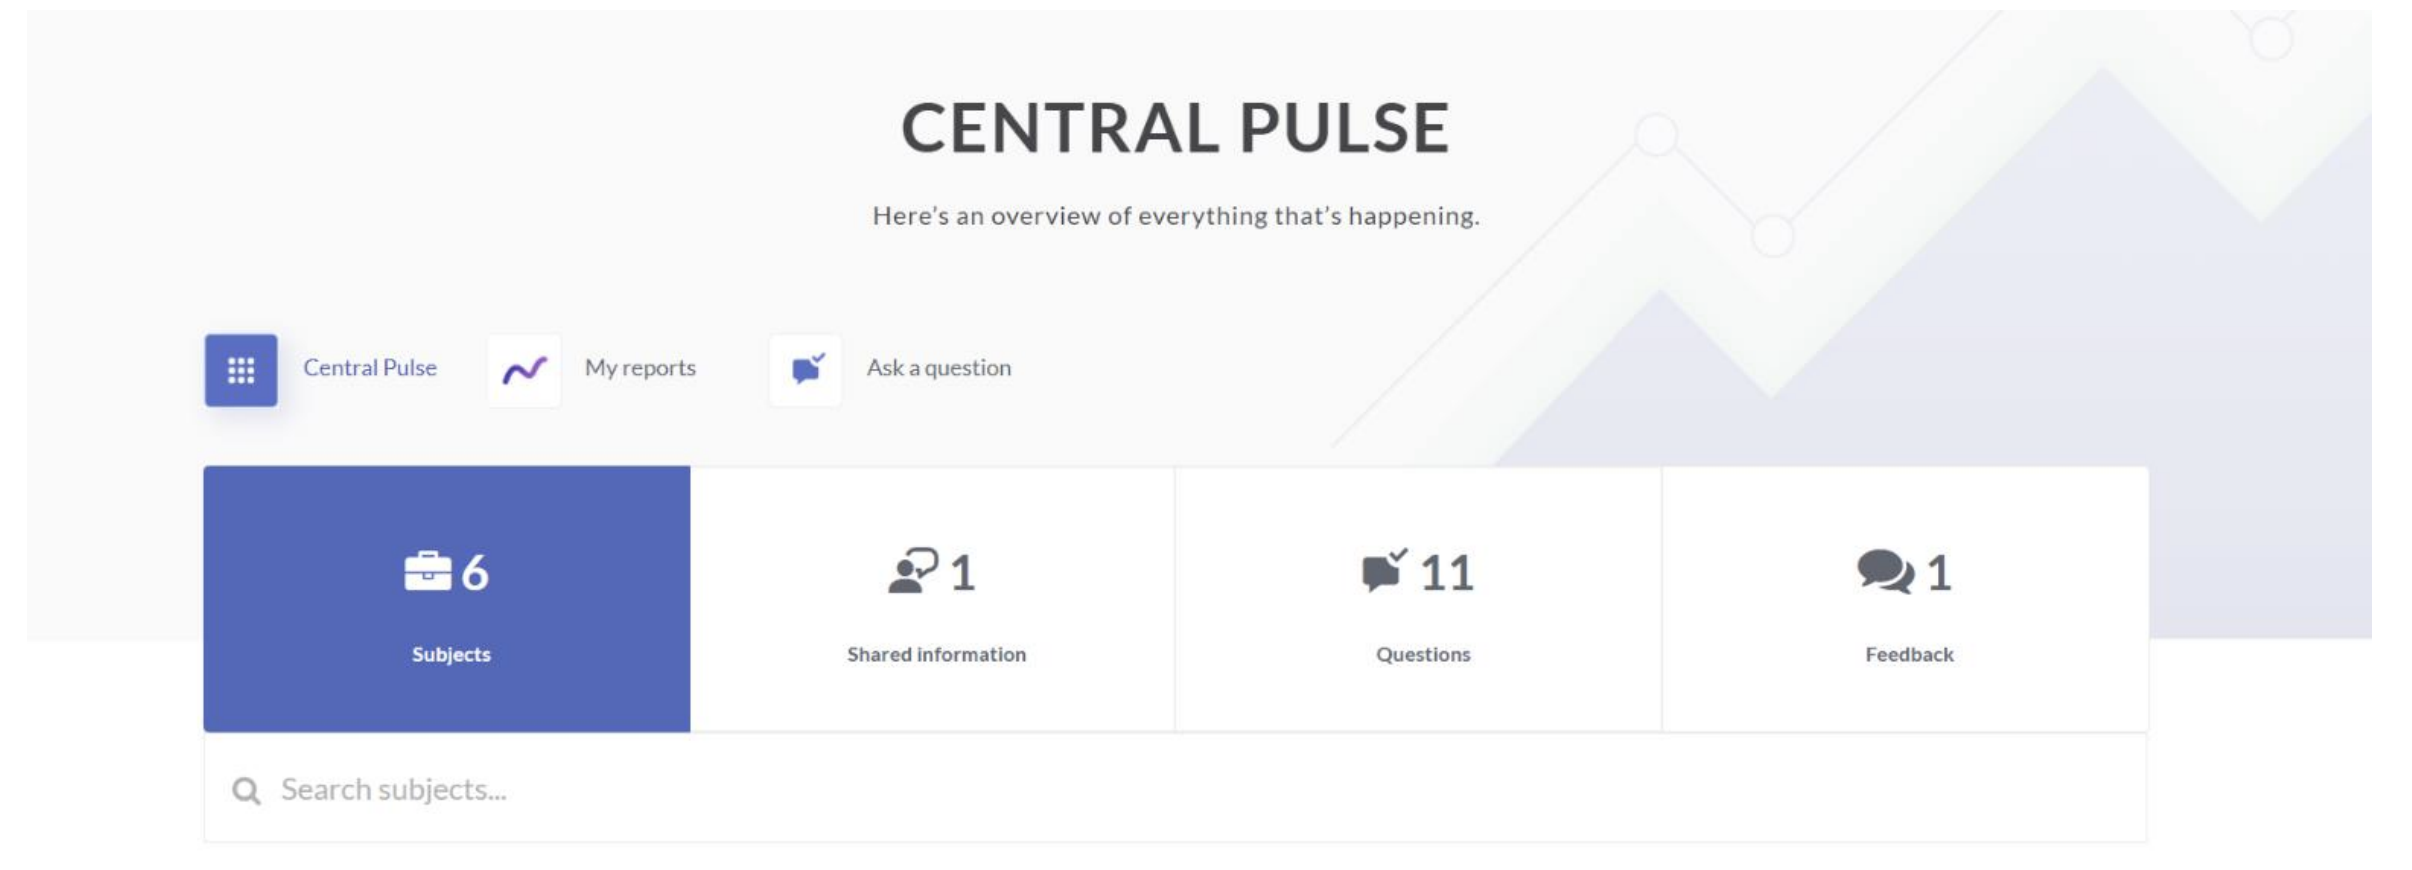
Central Pulse
The central pulse will give you an overview of the progress for all of your courses.
You will be able to view the number of interactions (questions and answers) you got from the students for each question.
In order to access the central pulse, you need to press the button of Central Pulse from your Home page on the right corner under “Ask a Question” button.
The following steps will show you how to see the progress and download a report:
1- Click on the Central Pulse and you will be redirected to another page
2- All the courses registered under your name will be available for your review
3- Click on the selected subject “Course” you desire to view to check the progress.
4- Select “My Reports” to generate a report with all the needed details
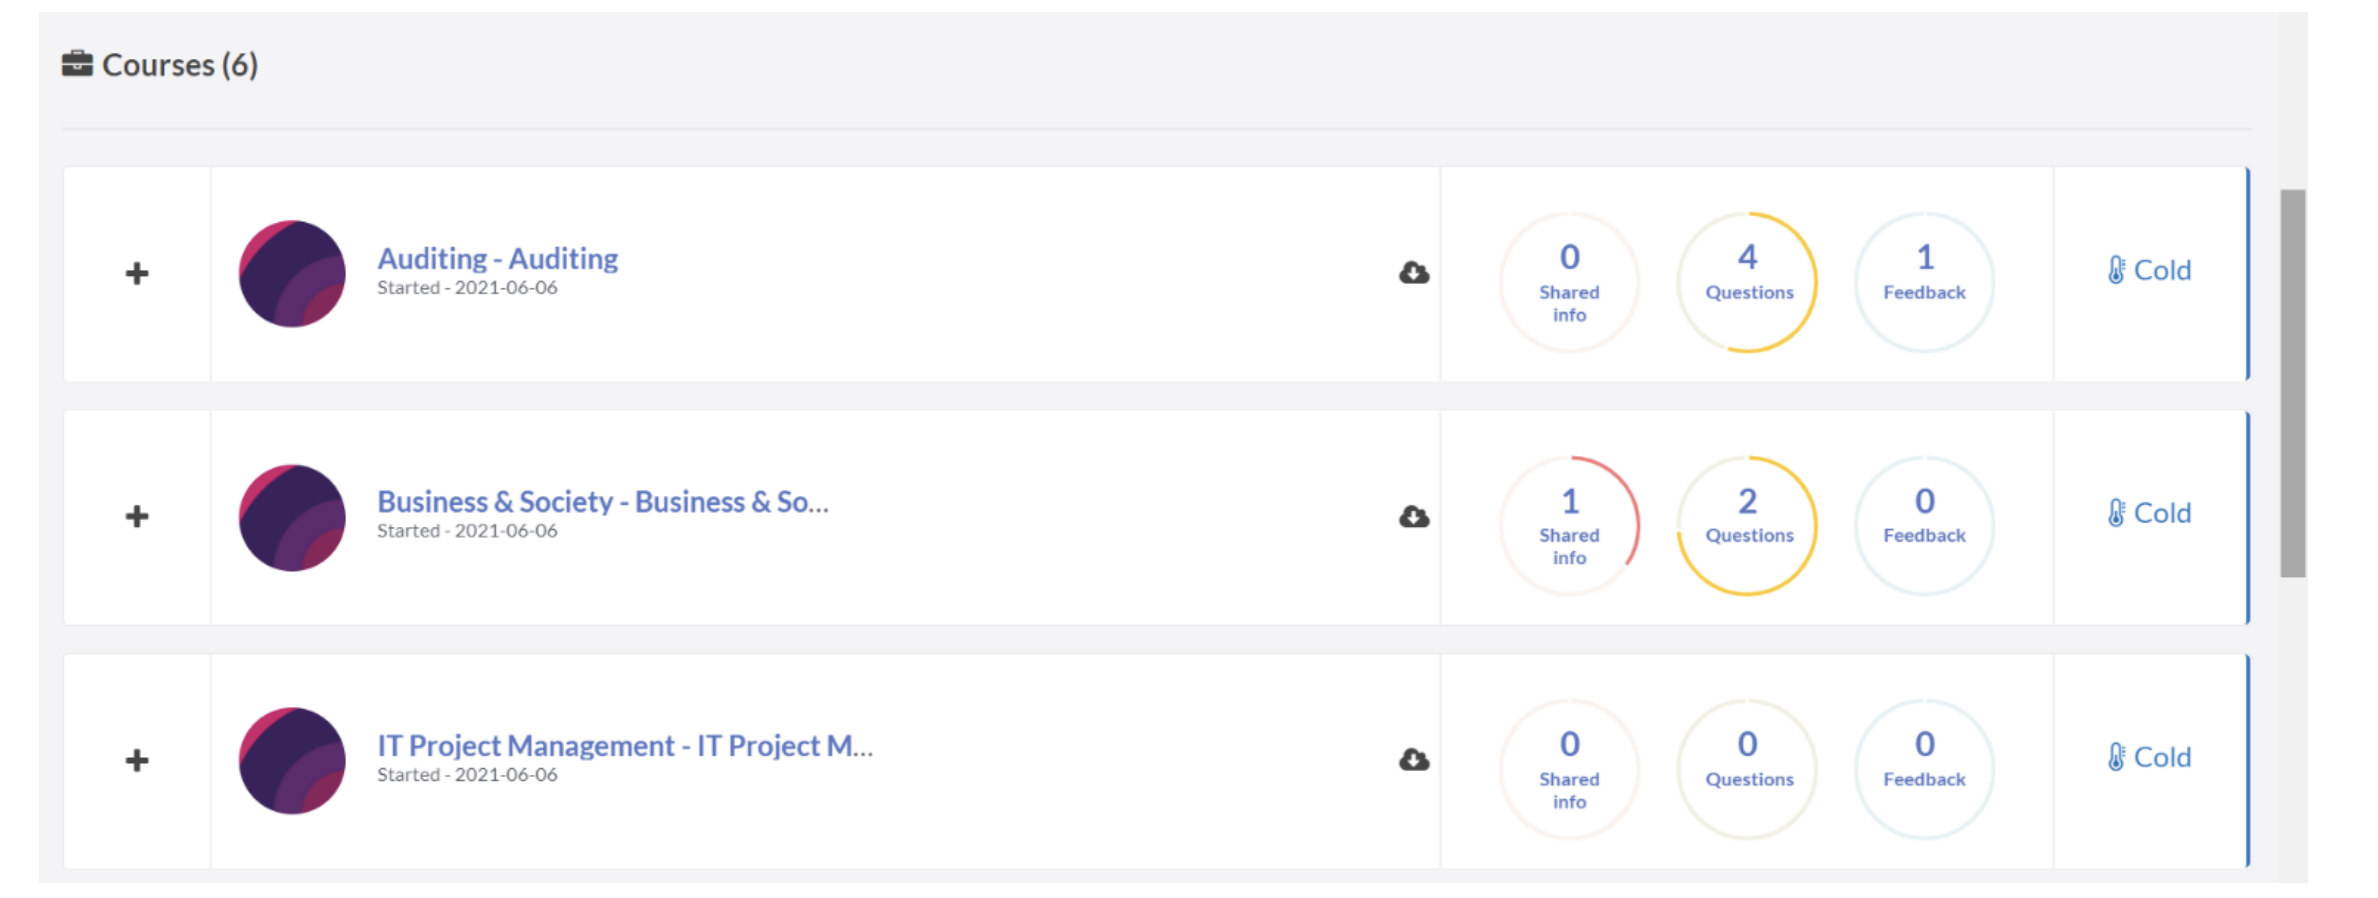
5- For each course, you will get an update on the questions and feedback count
6- In order to download an excel report, you need to click on the small cloud button with an arrow to generate a report
7- Reports are only generated for each course and not a general report
Student Account
Manage Your Profile
Sign in on Bluepulse. From here, you can access the entire Bluepulse application.
Explore each area of the Home page below. The Profile settings contain options and additional information related to your profile and your user experience on both desktop and mobile applications.
You can open the Profile settings by clicking on your profile name, using the shortcut on the Home page, or selecting the settings button on the header page.
Set the profile picture that will be used to identify you in Bluepulse.
Your profile will be visible on the Feed when you ask questions, share thoughts or initiate follow-ups. To set your display picture:
1-Select the profile picture in the “My Profile” section
2-Select your preferred image by loading it from the upload window
3- Edit the image as desired
4-Save and Done!
News Feed
All students will be able to view the questions shared by the faculty for each course on their news feed. Students can easily answer the question or share their feedback on question available.
Students should understand that the questions are related to the CLO to measure the student learning experience.
Pairing Devices
Steps to pair your mobile device to your account:
1- Bluepulse is available on Apple Store and Google Play. Download Bluepulse App on your mobile
2- Open your account on a web browser
3- After logging in to the web browser, click on your name to access your Home page
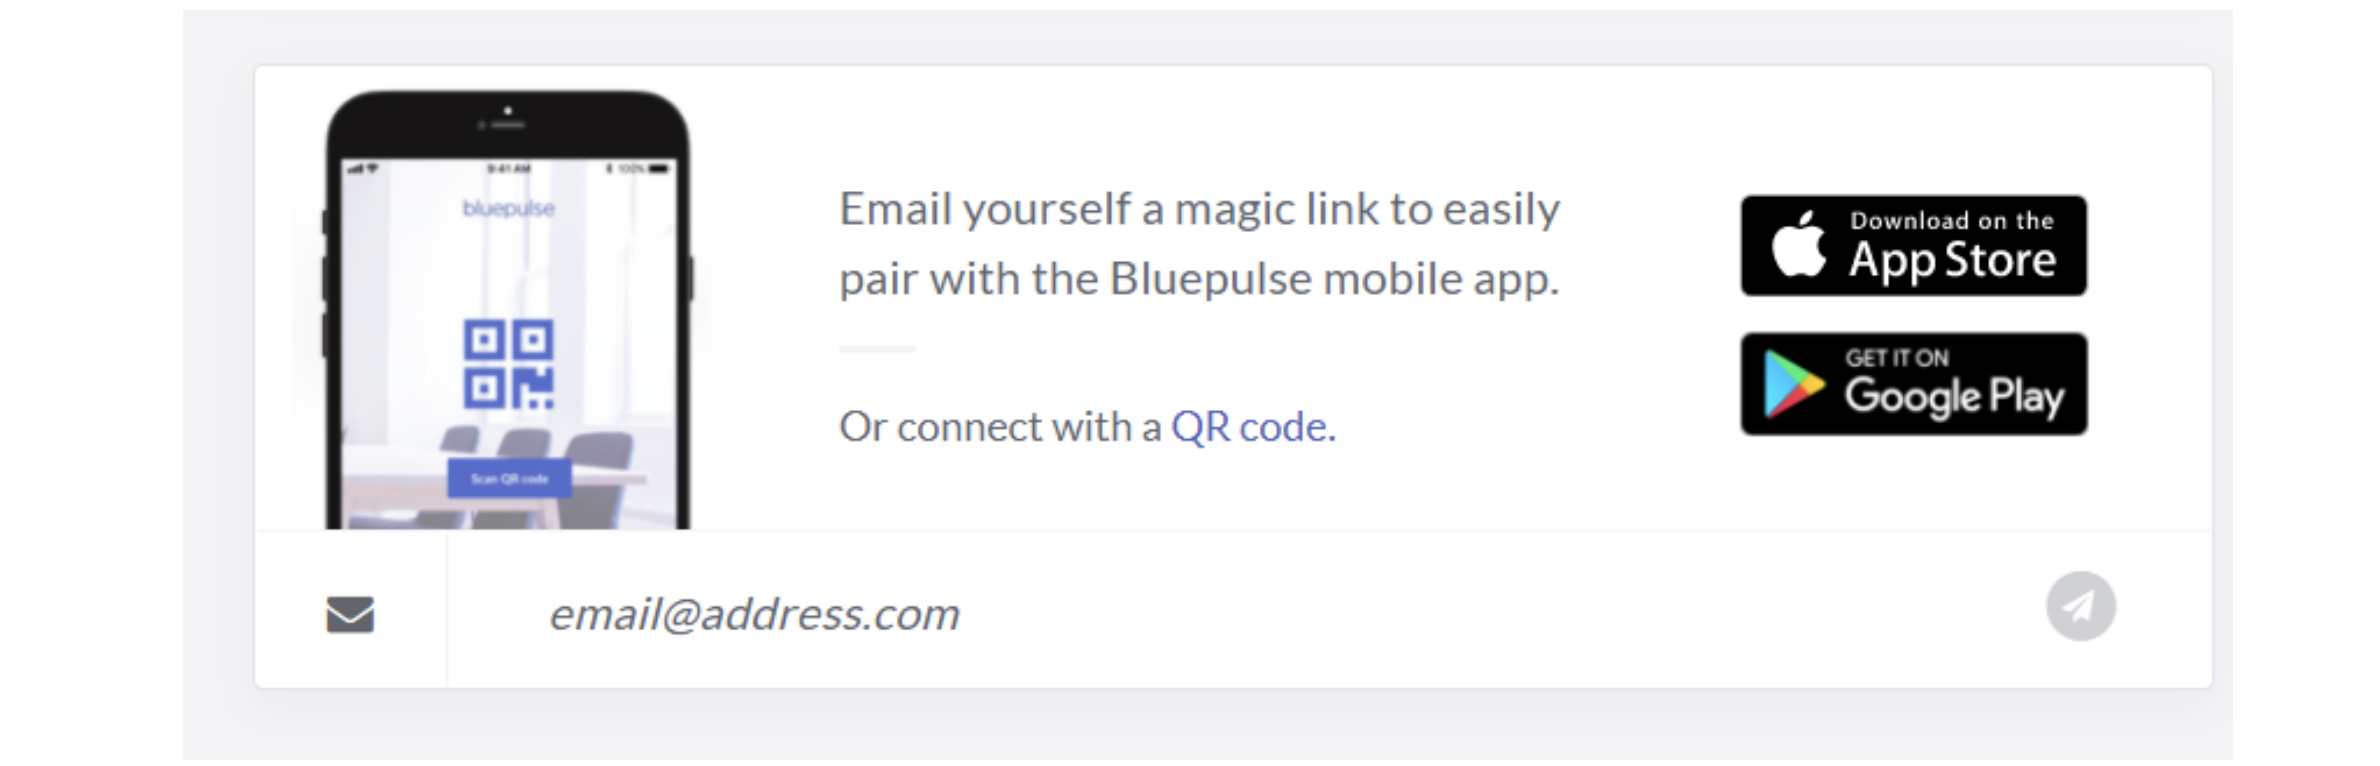
4- Click on the QR code to view the barcode
5- Scan the QR code using your mobile to log in to your account automatically on the mobile App